How-To: Reformat Your Computer (Windows 7)
It gets tired, when your computer needs a reformat. You’ll have to bring it to the shop and pay a bomb, just to get it fixed. Instead, why not, do it yourself?
Here’s a brief and basic step-by-step guide on reformatting your computer. It’s easy, and anyone can do it. Just follow the steps and you’ll be a pro in no time.
We’ll be taking a look at reformatting and reinstalling the computer, with a Windows 7 disc; as of date the latest operating system by Microsoft Windows.
For starters, reformatting the computer is like hitting the hard reset button, everything on the hard disk get wiped out. The specified partition, that is.
Important Fact: It is essential to back up your files before you start. You can make copies of it into another drive or disc.
But, before you begin make sure that you have the appropriate drivers for your computer. They usually come, with the computer that you’ve bought. Otherwise, you can download them online.
So… without further ado, let’s begin.
#Step 0
Boot the computer, with a Windows 7 DVD Disc
#Step 1
‘Press any key to boot from CD or DVD…’

#Step 2
‘Windows is loading files…’

#Step 3
‘Starting Windows Setup’

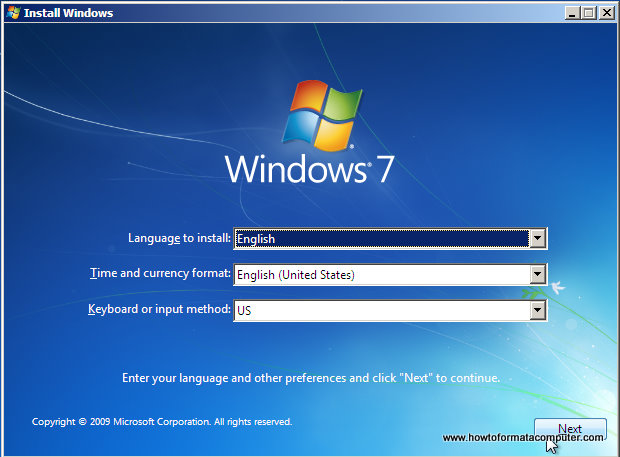
#Step 4
Select: Languages to install; Time and currency format & Keyboard or input method
Then, click: ‘Next’
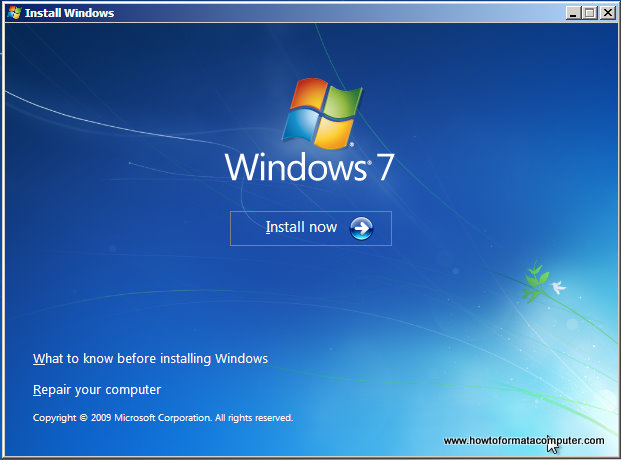
#Step 5
Click ‘Install Now’
#Step 6
‘Setup is starting…’

#Step 7
Read & Select: ‘I accept the license terms’
Then, click: ‘Next’

#Step 8
Recommended. Select: ‘Custom (advance)’

#Step 9
Select & Delete: The partition, one by one; in ‘Drive options (advance)’

#Step 10
Select: Unallocated Space. Click ‘Next’

#Step 11
Installing Windows… (Leave the setup to run, on its own)
‘Copying Windows Files’

‘Expanding Windows Files’
‘Installing Features’
‘Installing updates’

*Setup Restarts*

*Do not press any key*

‘Starting Windows’

‘Setup is starting services’

‘Completing Installation’

‘Setup is preparing your computer for first use..’

#Step 12
Enter: New User Name & Computer Name
Click: ‘Next’

#Step 13
Enter: New Password & Hint
Click: ‘Next’

#Step 14
Enter: Windows 7 Product Key
Click: ‘Next’

#Step 15
Select: Use Recommended Settings

#Step 16
Select: Time zone
Click: ‘Next’

#Step 17
Select: Network Location
Click: ‘Next’

#Step 18
Configure: Home group
Then, click: ‘Next’
*Or*
Click: ‘Skip’

#Step 19
‘Windows is finalizing your settings’

#Step 20
‘Welcome’
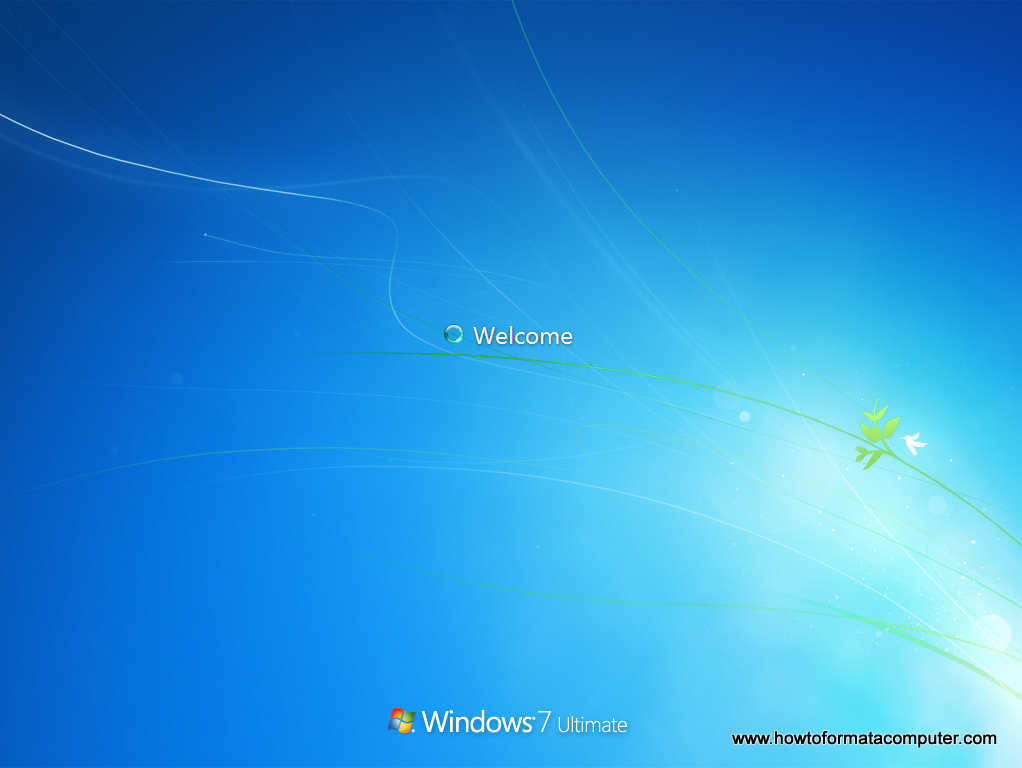
#Step 21
Windows 7 Desktop Screen

That’s it! It isn’t half as bad. You’ve just reformatted your computer. Congratulations and a job well done! You’re a computer technician now.
The last set, is to re-install your computer drivers, mentioned earlier on.
Important Fact: Run ‘Windows Updates’, to get the latest drivers and updates for your system.
So here, we end the brief and basic guide on reformatting and reinstalling Windows 7.
By the way, you can also watch this video tutorial below.
If, you have any question contact me through my page, and I’ll get back at you right away. Have fun and enjoy learning. 🙂
Note: All images, belong to their respective website. It is for illustration purposes only. I do not own them.
References:
Datech. (2009). How to: Reformat a computer with Windows 7. Retrieved April, 4, from http://www.thebestcasescenario.com/?q=node/366
Tutorials. (2010). How to format and Reinstall Windows 7. Retrieved April, 4, from http://howtoformatacomputer.com/format-windows-7#more-506
Posted on April 4, 2011, in How-To and tagged Reformat, Windows 7. Bookmark the permalink. Leave a comment.


Leave a comment
Comments 0